
Minecraft Bedrock: Making Your First Basic Item
27 April, 2019
Minecraft PE Guide
There is a new opportunity for Minecraft gamers to create new custom objects with the help of resource and behavior packs after Minecraft Bedrock Edition Beta 1.12.0.2 was released. In this guide we will tell you about this opportunity in a few words.
At the end of this manual you will find a link to download an archive with a prepared pack of parameters and resources. In course of time we can update this guide by adding or changing the information.
Step 1. Create a resource pack
With the help of resource packs we must first register our item in the game and, if we wish, assign our own icon to it.
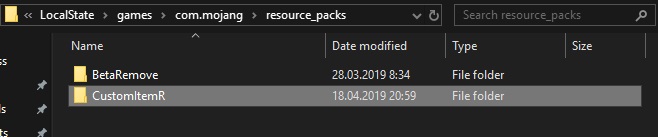
To create a resource pack, go to the folder:
In this folder you must create a new folder for our new pack. You can enter any name, but try to give meaningful names in order to not to be confused in the future.![]()
Go to the created folder and create a file in it called manifest.json.![]()
Open this file through a text editor and paste the following code:
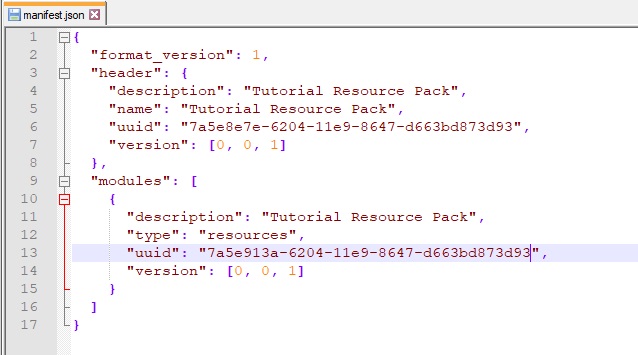
We will not go into details of all the settings, but the most important thing here is the "uuid" line: "UNIQUE ID".
Entering these values is required otherwise the game will not be able to recognize the packs.
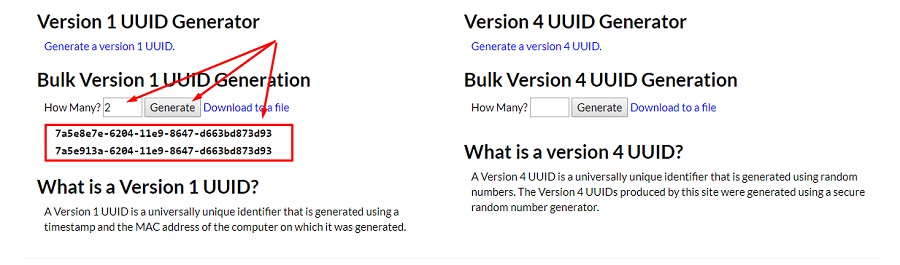
Getting them is easy enough. Go to https://www.uuidgenerator.net/version4. Enter in the "How many?" field the number of ids and click "Generate".![]()
Insert the obtained values instead of the "UNIQUE ID" (they should not be repeated!) in the manifest.json file. It should end up with something like this:![]()
In the resource pack folder, create another folder named “items”, in which, in fact, our items will be.![]()
Go to the created folder and create the itemname.json file in it
It should end up with something like the following:![]()
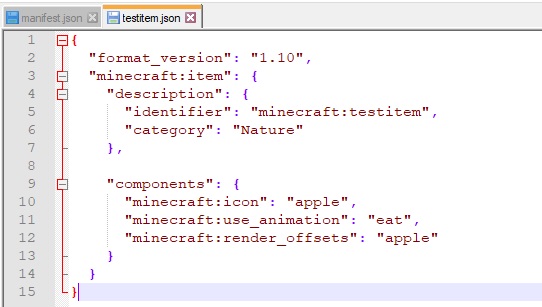
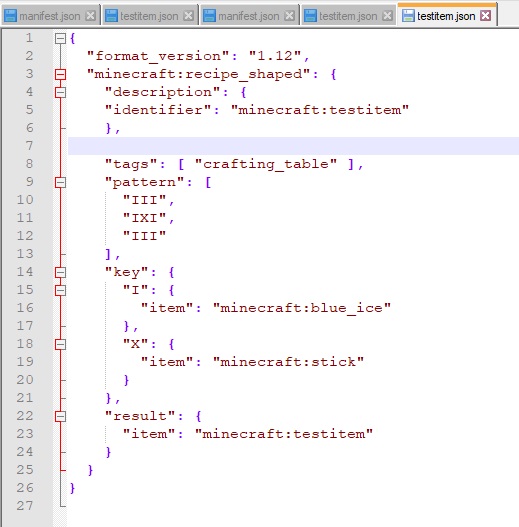
Open the created file and fill it with the following code:
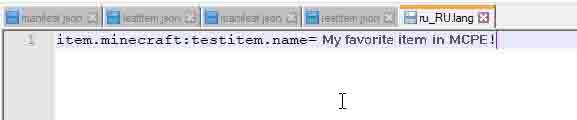
Be sure to change the line "minecraft: Item Name". It must be changed to the name which is the name of the file.
Variable definitions:![]()
Step 2. Create a behavior pack.
Fine! We have created our item, but in order for it to finally work, it is necessary to give it “logic” with the help of behavior packs.
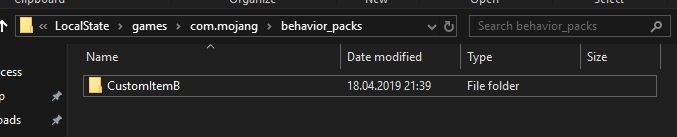
This time in the \games\com.mojang\behavior_packs\ folder we create a new folder of the behavior pack.![]()
In the newly created folder, create the manifest.json file and the items folder again.![]()
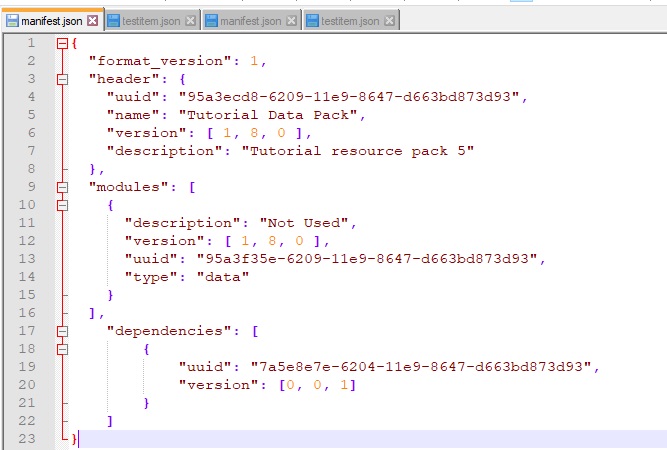
Open the newly created manifest.json file and paste the following into it:
Note that you need to specify the "UNIQUE ID" again, which you need to re-create on the same site - https://www.uuidgenerator.net/version4.
In the "dependencies" section, you need to indicate the "uuid" of the resource pack. Thanks to this, it will be possible to activate only the behavior pack, and the resource pack will be connected automatically.
The result should look like the following:![]()
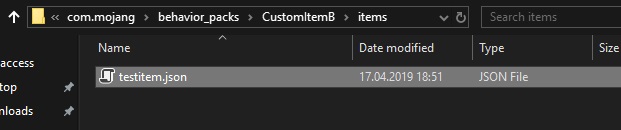
Go to the “items” folder and create a file in it again with the name ItemName.json.![]()
Insert the following code into the created file using a text editor:
Variables and components description:
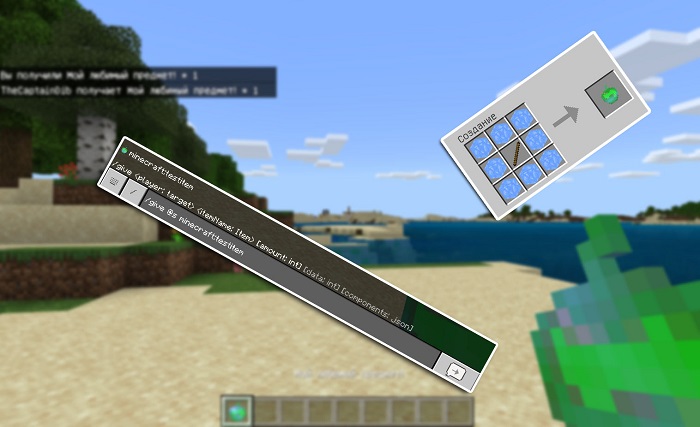
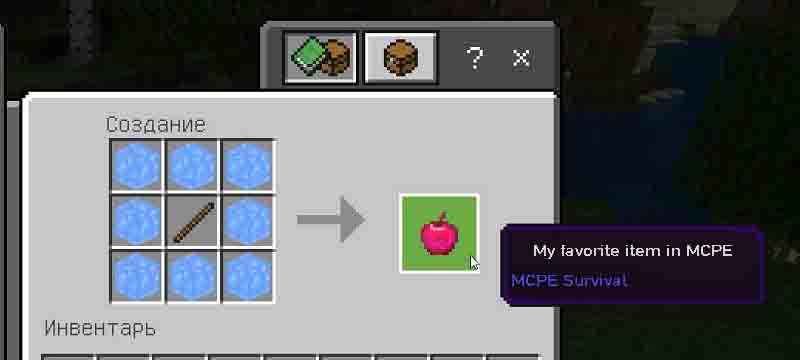
Now we can launch the game, activate the packs and check the workabilities of the created by us item!
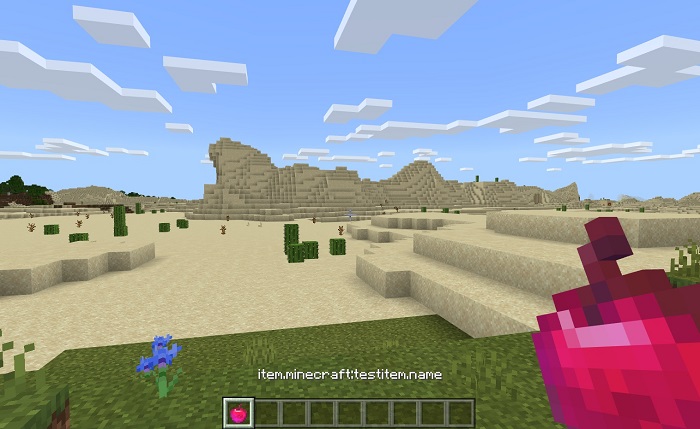
You can get the item with the help of a /give @s ItemIdentificator command. ( There is information about creating a recipe below )![]()
Voila!![]()
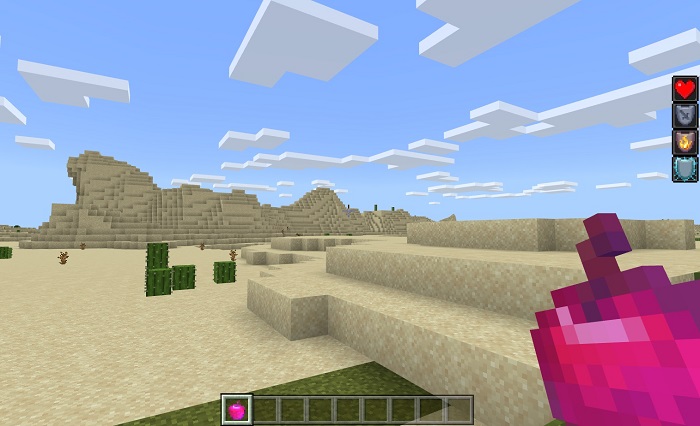
Because of the minecraft:food component and the list of receiving effects specification it is possible for us to eat it and get the effects!![]()
Links:
At the end of this manual you will find a link to download an archive with a prepared pack of parameters and resources. In course of time we can update this guide by adding or changing the information.
Step 1. Create a resource pack
With the help of resource packs we must first register our item in the game and, if we wish, assign our own icon to it.
To create a resource pack, go to the folder:
- Windows 10: C:\Users\Username\AppData\Local\Packages\
Microsoft.MinecraftUWP_8wekyb3d8bbwe\LocalState\games\
com.mojang\resource_packs - Android: \games\com.mojang\resource_packs
In this folder you must create a new folder for our new pack. You can enter any name, but try to give meaningful names in order to not to be confused in the future.
Go to the created folder and create a file in it called manifest.json.

Open this file through a text editor and paste the following code:

We will not go into details of all the settings, but the most important thing here is the "uuid" line: "UNIQUE ID".
Entering these values is required otherwise the game will not be able to recognize the packs.
Getting them is easy enough. Go to https://www.uuidgenerator.net/version4. Enter in the "How many?" field the number of ids and click "Generate".
Insert the obtained values instead of the "UNIQUE ID" (they should not be repeated!) in the manifest.json file. It should end up with something like this:
In the resource pack folder, create another folder named “items”, in which, in fact, our items will be.

Go to the created folder and create the itemname.json file in it
It should end up with something like the following:

Open the created file and fill it with the following code:
Be sure to change the line "minecraft: Item Name". It must be changed to the name which is the name of the file.
Variable definitions:
- identifier - item identifier
- category - item category
- May take the following values: Nature, Equipment, Items
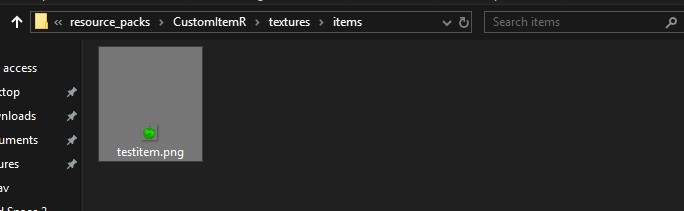
- minecraft: icon - item icon. You can read about creating an icon for an item at the end of the manual.
- minecraft: use animation - animation of using:
- eat
- camera
- crossbow
- bow
- eat
- minecraft:render_offsets - a type of the item in hand:
- seeds
- flesh
- fishes
- melon
- seeds
Step 2. Create a behavior pack.
Fine! We have created our item, but in order for it to finally work, it is necessary to give it “logic” with the help of behavior packs.
This time in the \games\com.mojang\behavior_packs\ folder we create a new folder of the behavior pack.
In the newly created folder, create the manifest.json file and the items folder again.

Open the newly created manifest.json file and paste the following into it:
Note that you need to specify the "UNIQUE ID" again, which you need to re-create on the same site - https://www.uuidgenerator.net/version4.
In the "dependencies" section, you need to indicate the "uuid" of the resource pack. Thanks to this, it will be possible to activate only the behavior pack, and the resource pack will be connected automatically.
The result should look like the following:
Go to the “items” folder and create a file in it again with the name ItemName.json.
Insert the following code into the created file using a text editor:
Variables and components description:
- identifier - item identifier
- minecraft:hand_equipped - can be carried in any hand (true/false)
- minecraft:stacked_by_data - can be stacked by data (true/false)
- minecraft:use_duration - period of use (integer)
- minecraft:foil - can be used as fuel (true/false)
- minecraft:food
- nutrition - satiety (the number)
- saturation_modifier
- can_always_eat - can always be eaten
- effects - impact (array)
- name - effect name
- chance - chance of receiving (1.0 = 100%)
- duration - duration in seconds
- amplifier - effect level
- name - effect name
- nutrition - satiety (the number)
- minecraft:seed - can be planted
- crop_result - block that will be placed on the garden bed
- minecraft:block - the purpose of this component is not clear to us
- minecraft:camera - doesn`t work at this moment
Now we can launch the game, activate the packs and check the workabilities of the created by us item!
You can get the item with the help of a /give @s ItemIdentificator command. ( There is information about creating a recipe below )

Voila!
Because of the minecraft:food component and the list of receiving effects specification it is possible for us to eat it and get the effects!


Links:
- Link to download the archive with a ready-made example https://mcpesurvival.com/file/CustomItemPackv1.zip
- Standard resource pack (1.12.0.2) https://aka.ms/MinecraftBetaResources
- Standard behavior pack (1.12.0.2) https://aka.ms/MinecraftBetaBehaviors
27 April, 2019
Comments 6